Your X3,
after dark.
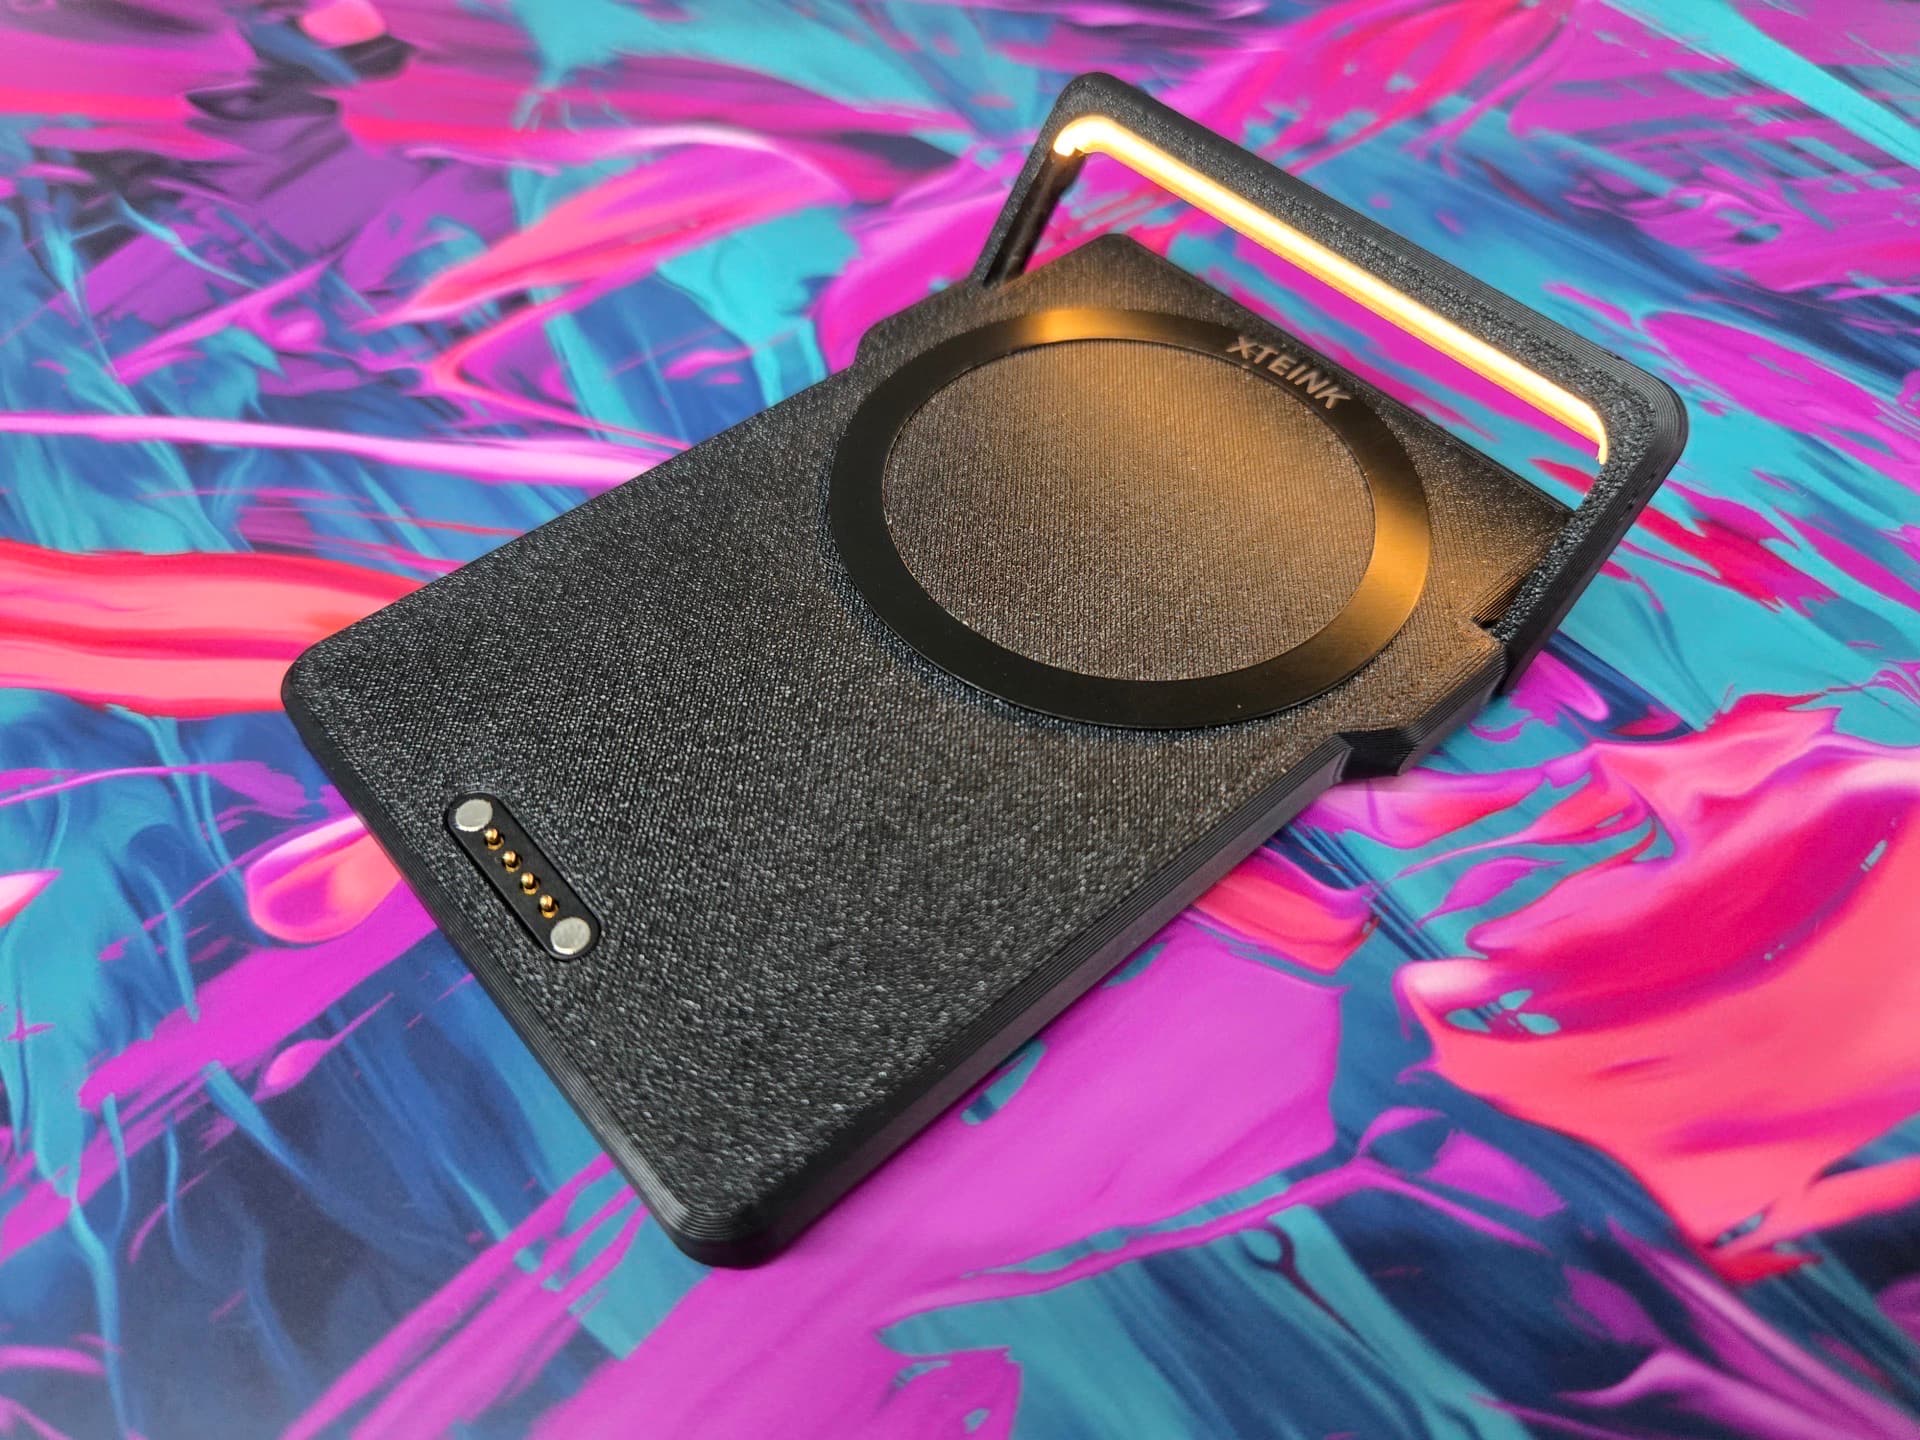
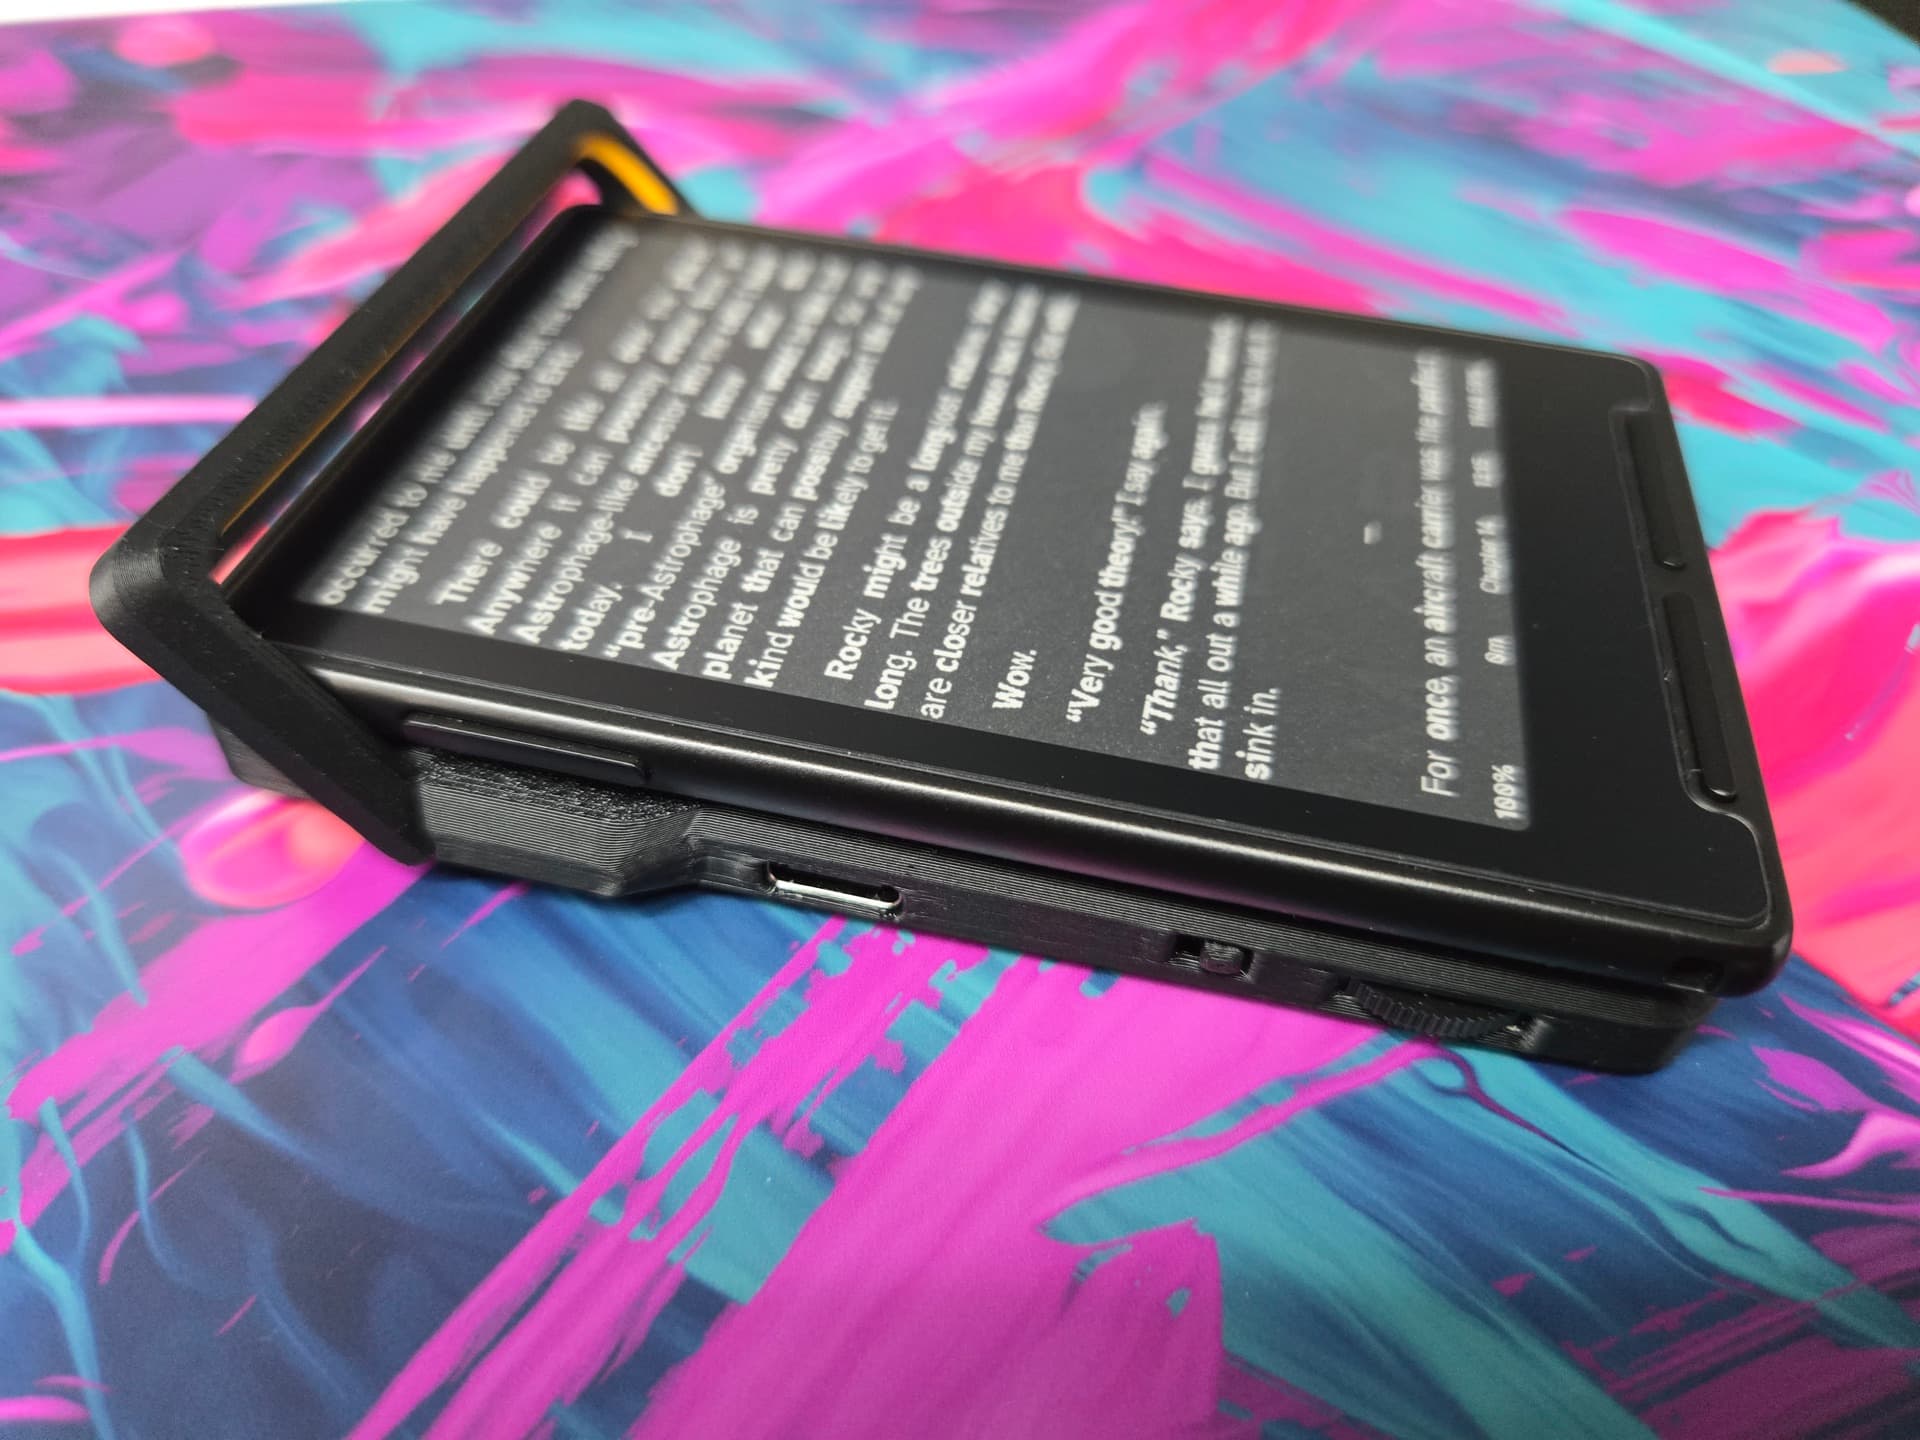
A 2700K reading light, a spare battery, and a pogo-pin charger, in one hand-built magnetic dock. Raise the arm, flip the top switch, and the page lights up. Leave it closed and it is a power bank that happens to fit your reader perfectly.
Batch One ships from early September. Every unit is built and tested by hand, one at a time, so you get your own expected ship date at checkout, and it does not move because somebody ordered after you.
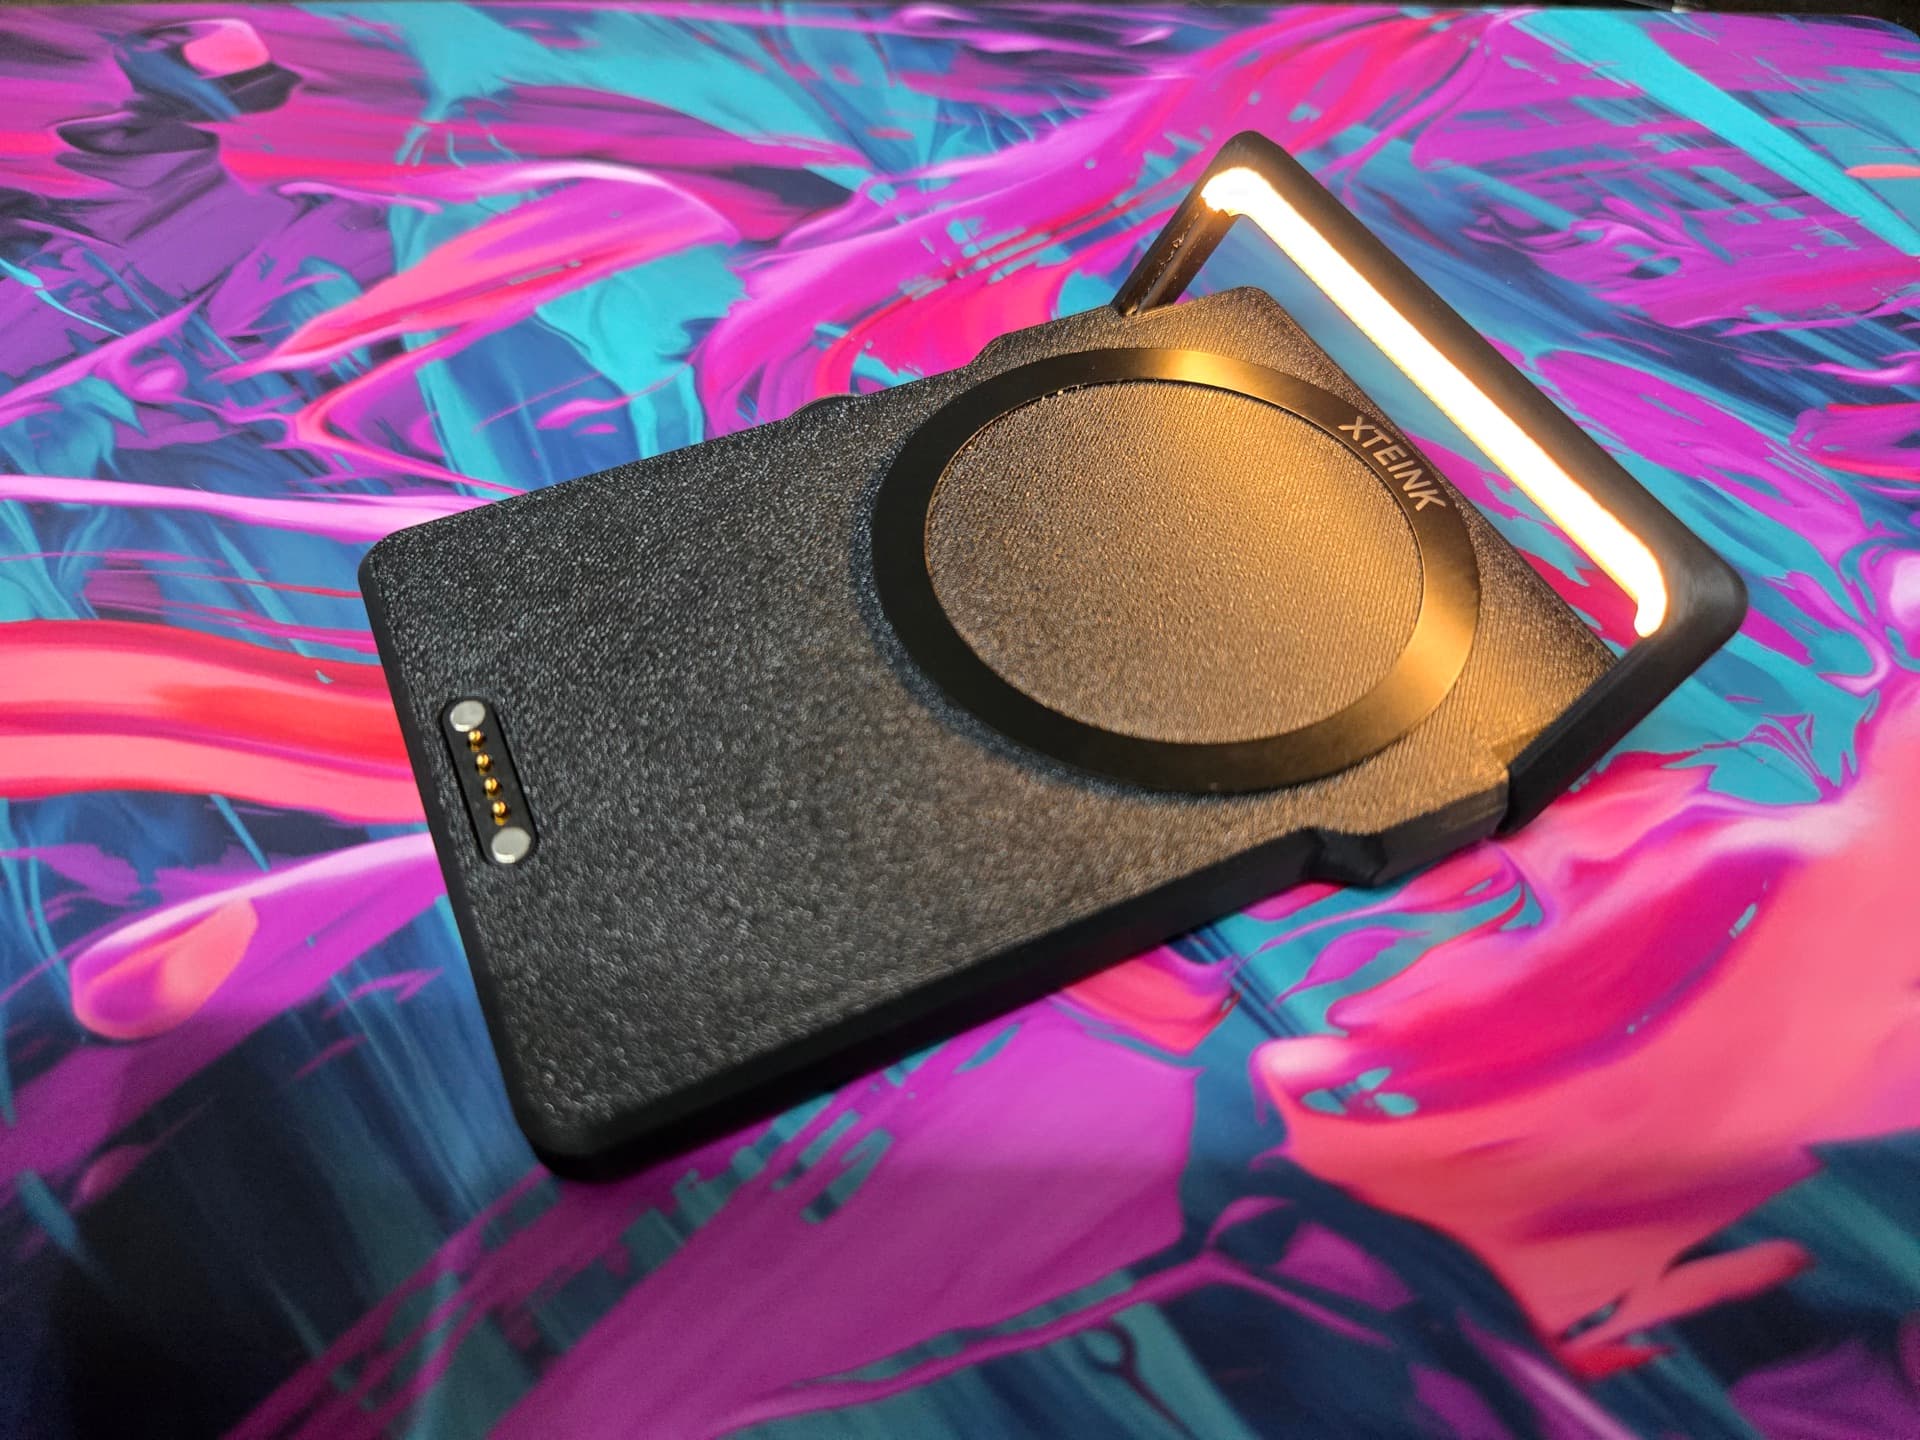
One warm strip, seventy milliamps of range.
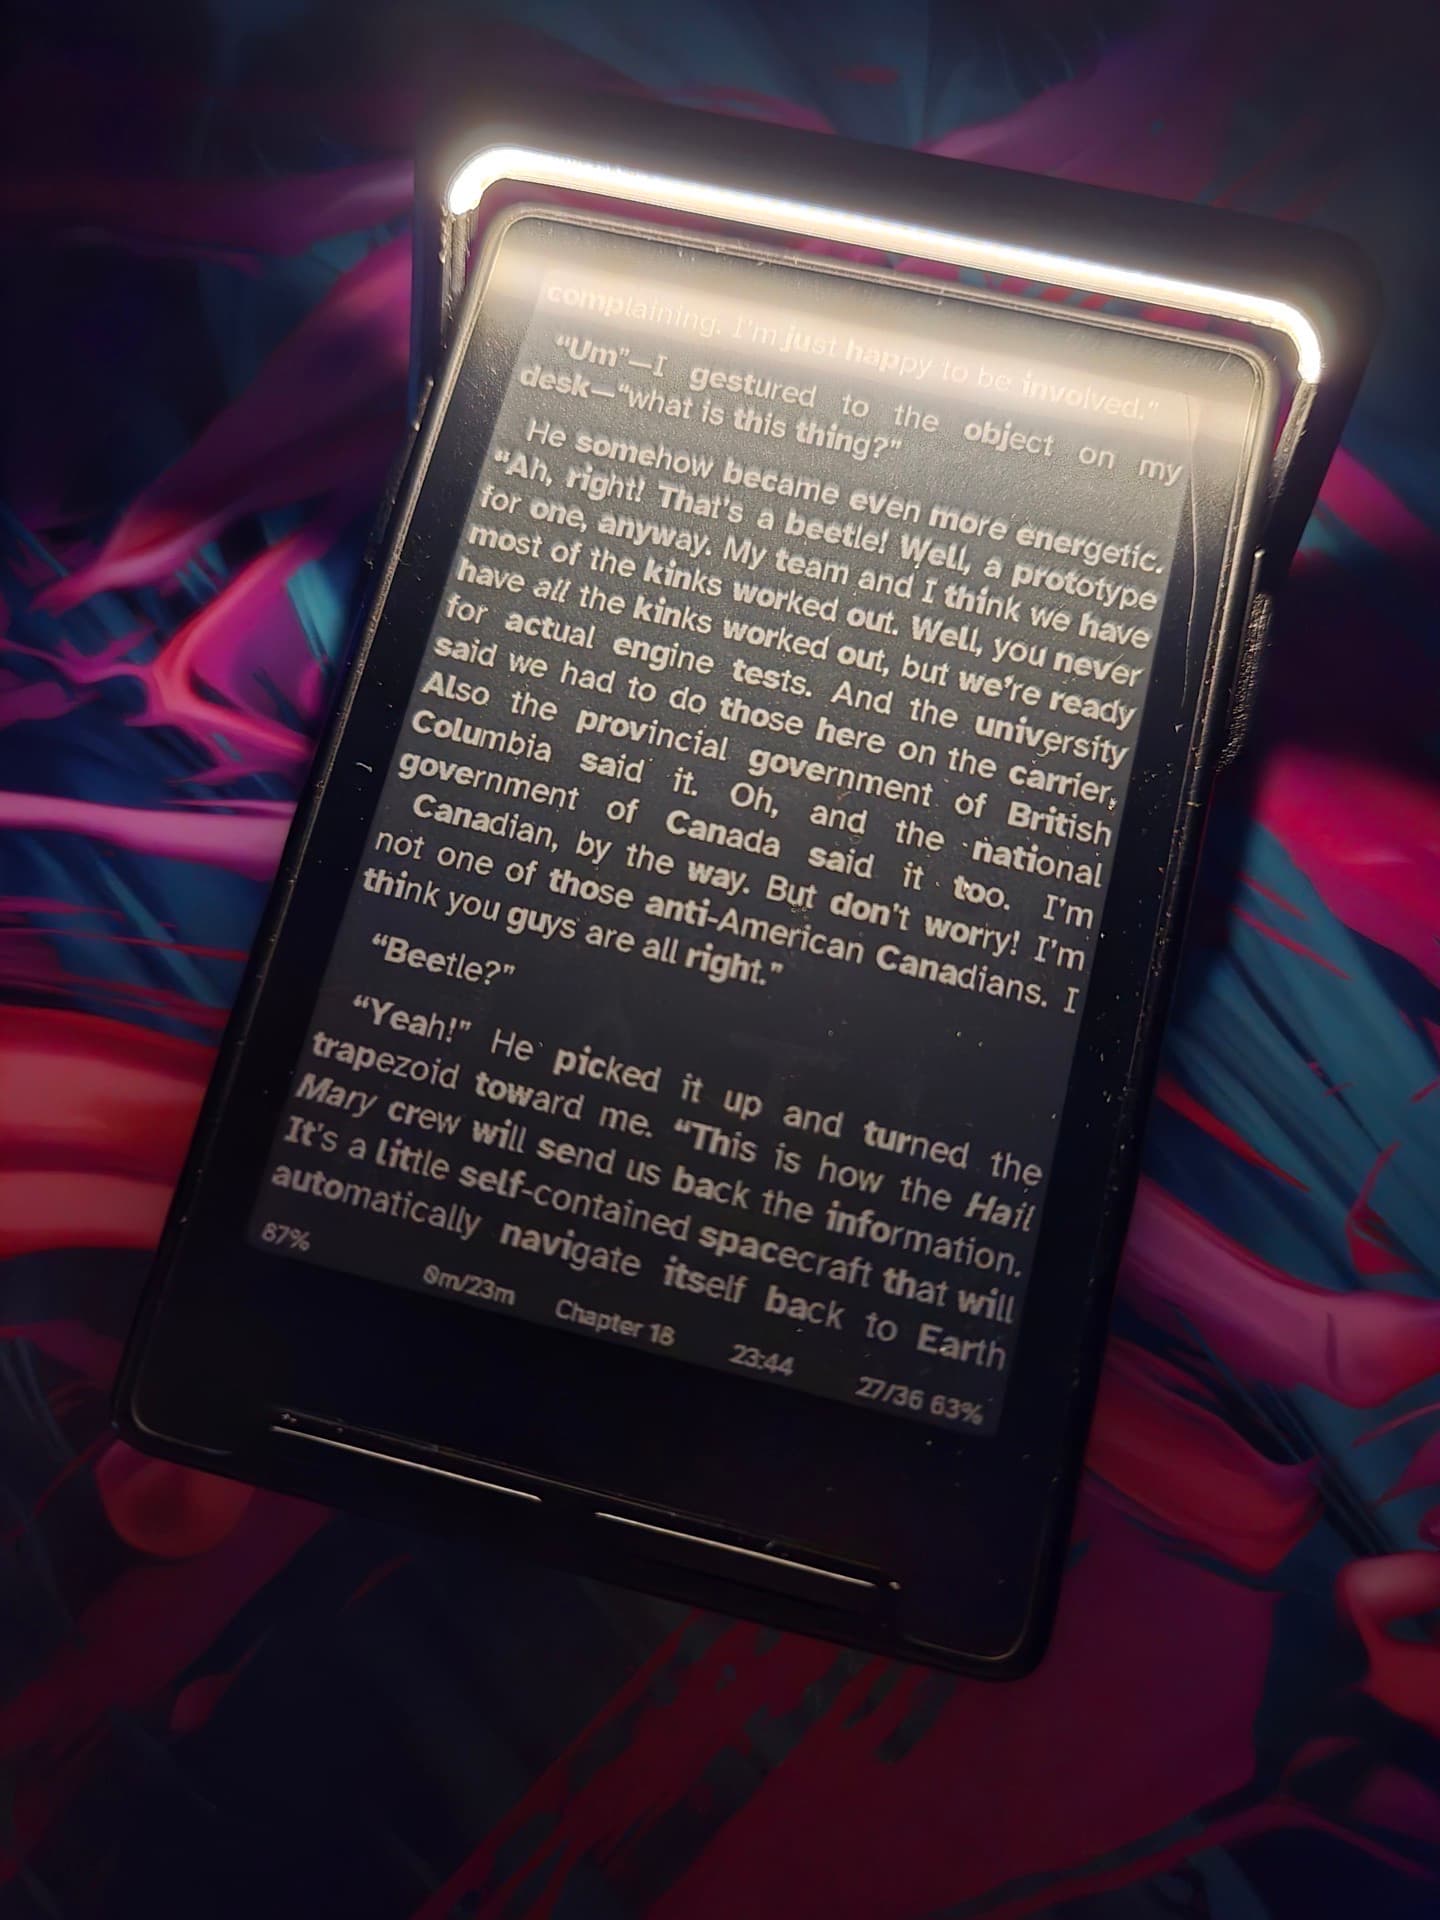
A single 2700K strip behind a diffuser, sitting above the screen rather than beside it. No colour modes, no app, no menu, a switch on the top edge and a thumbwheel that takes it from a candle to a powerful reading light.
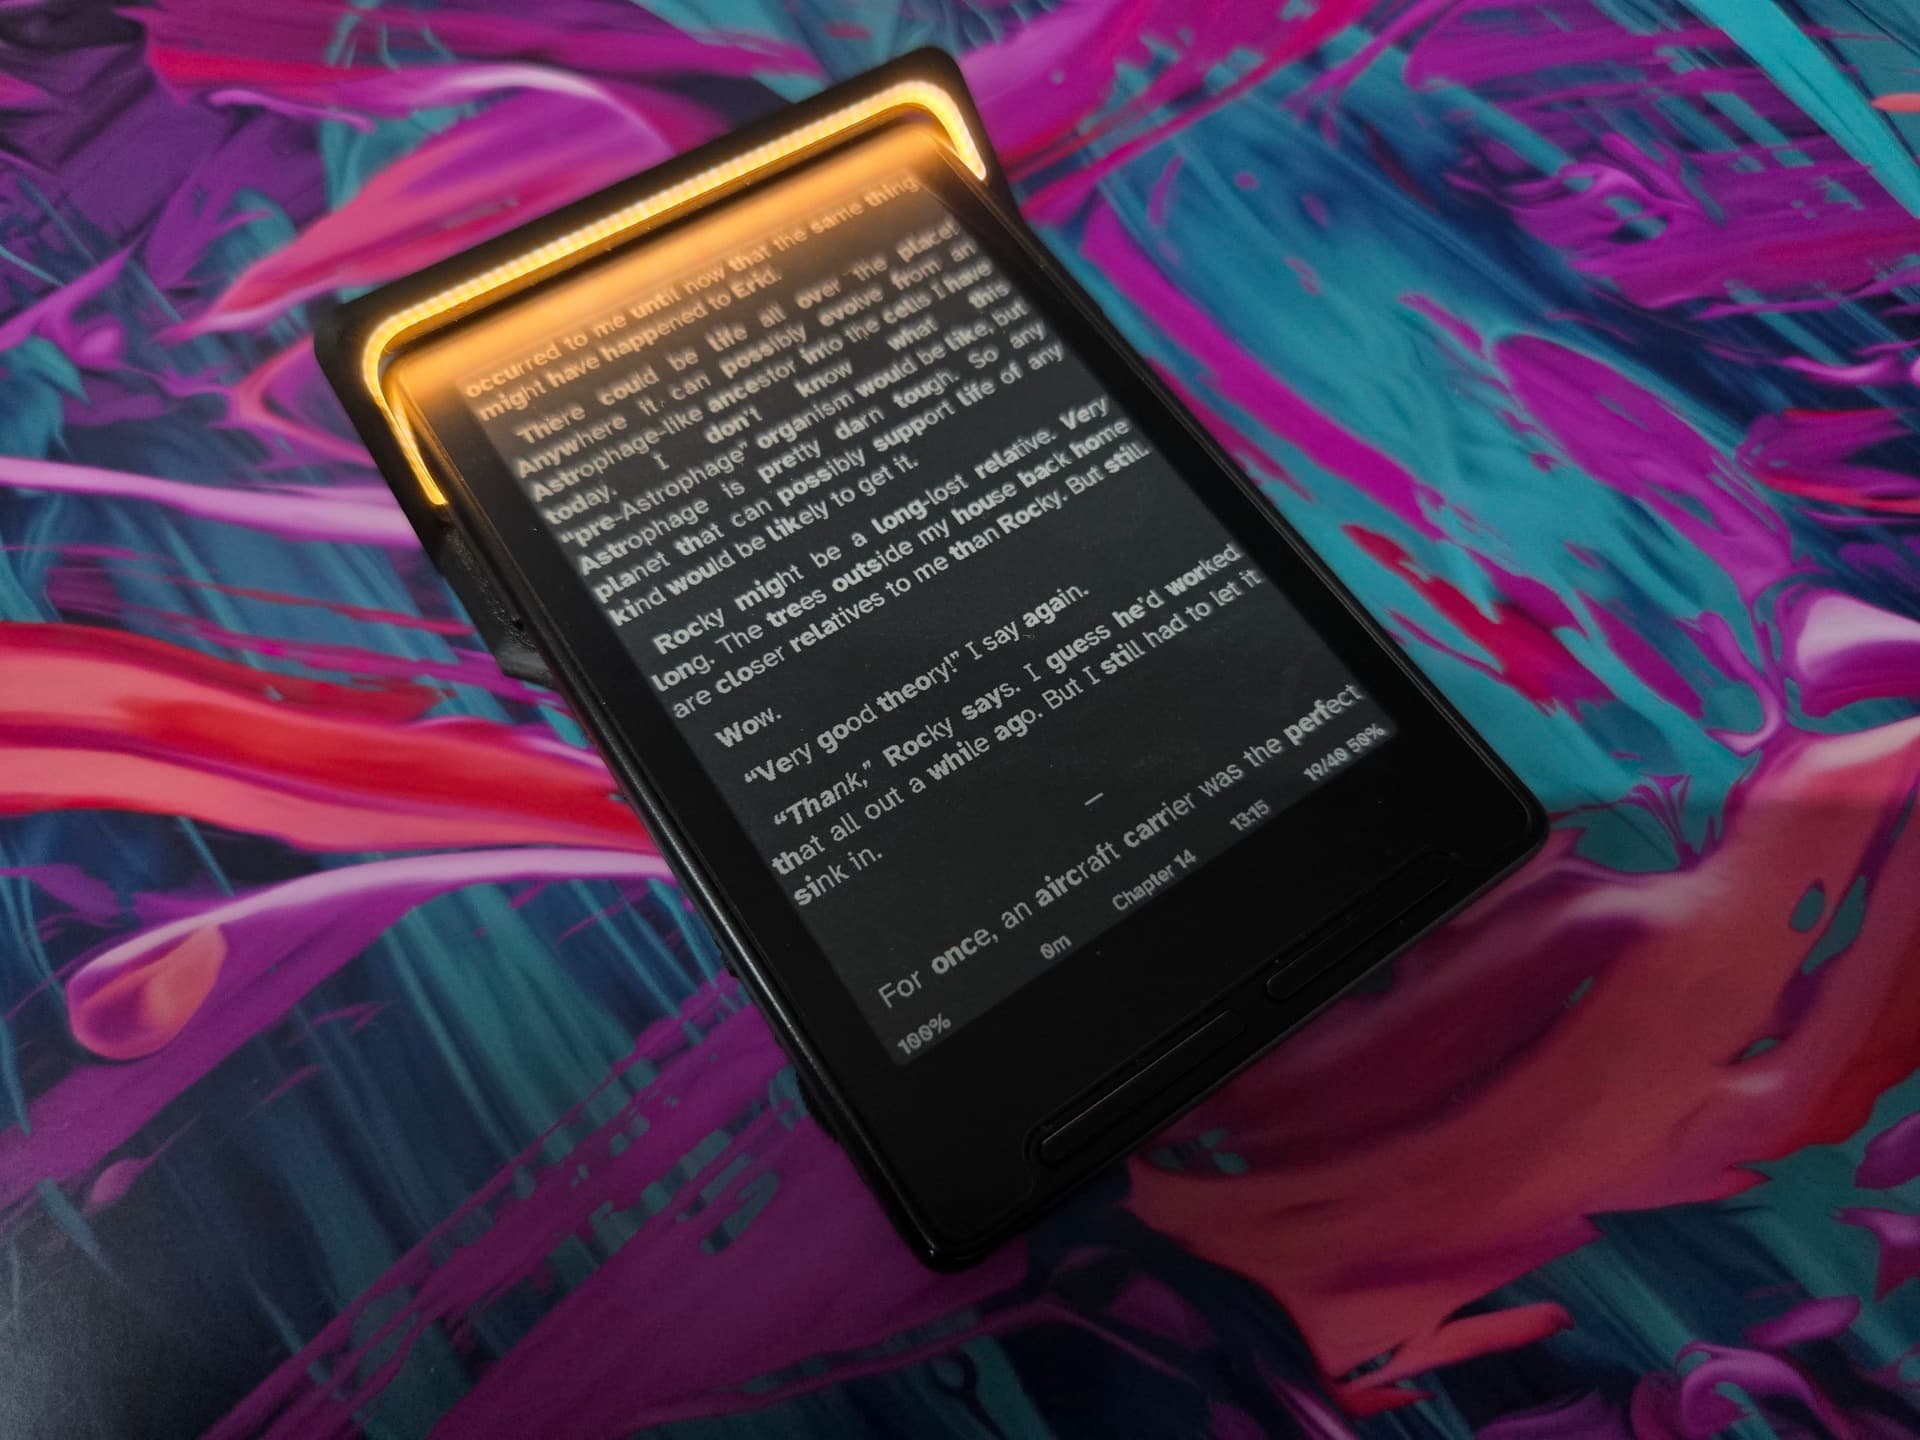
The potentiometer sweeps from 15mA to 85mA. Set it once for your room and leave it, or change it as you need, the top switch just turns it on and off.
Raising the arm does not switch the light on. The light comes on when you flip the top switch, and not before, so you can position the arm in a lit room without burning any charge.
Easier to show than to describe.
A reading light is one of those things a photograph flatters. Here is what it actually looks like at the desk, at night, at the brightness you would really use.
Demo video coming soon
A short clip of the arm going up, the switch going on, and the page lighting up in a dark room. This is really hard to capture in the dark not blown out by the light.
Built like something you are allowed to open.
Brass heat-set inserts instead of glue. Screws instead of clips. Every part on the bill of materials is one you can buy again.
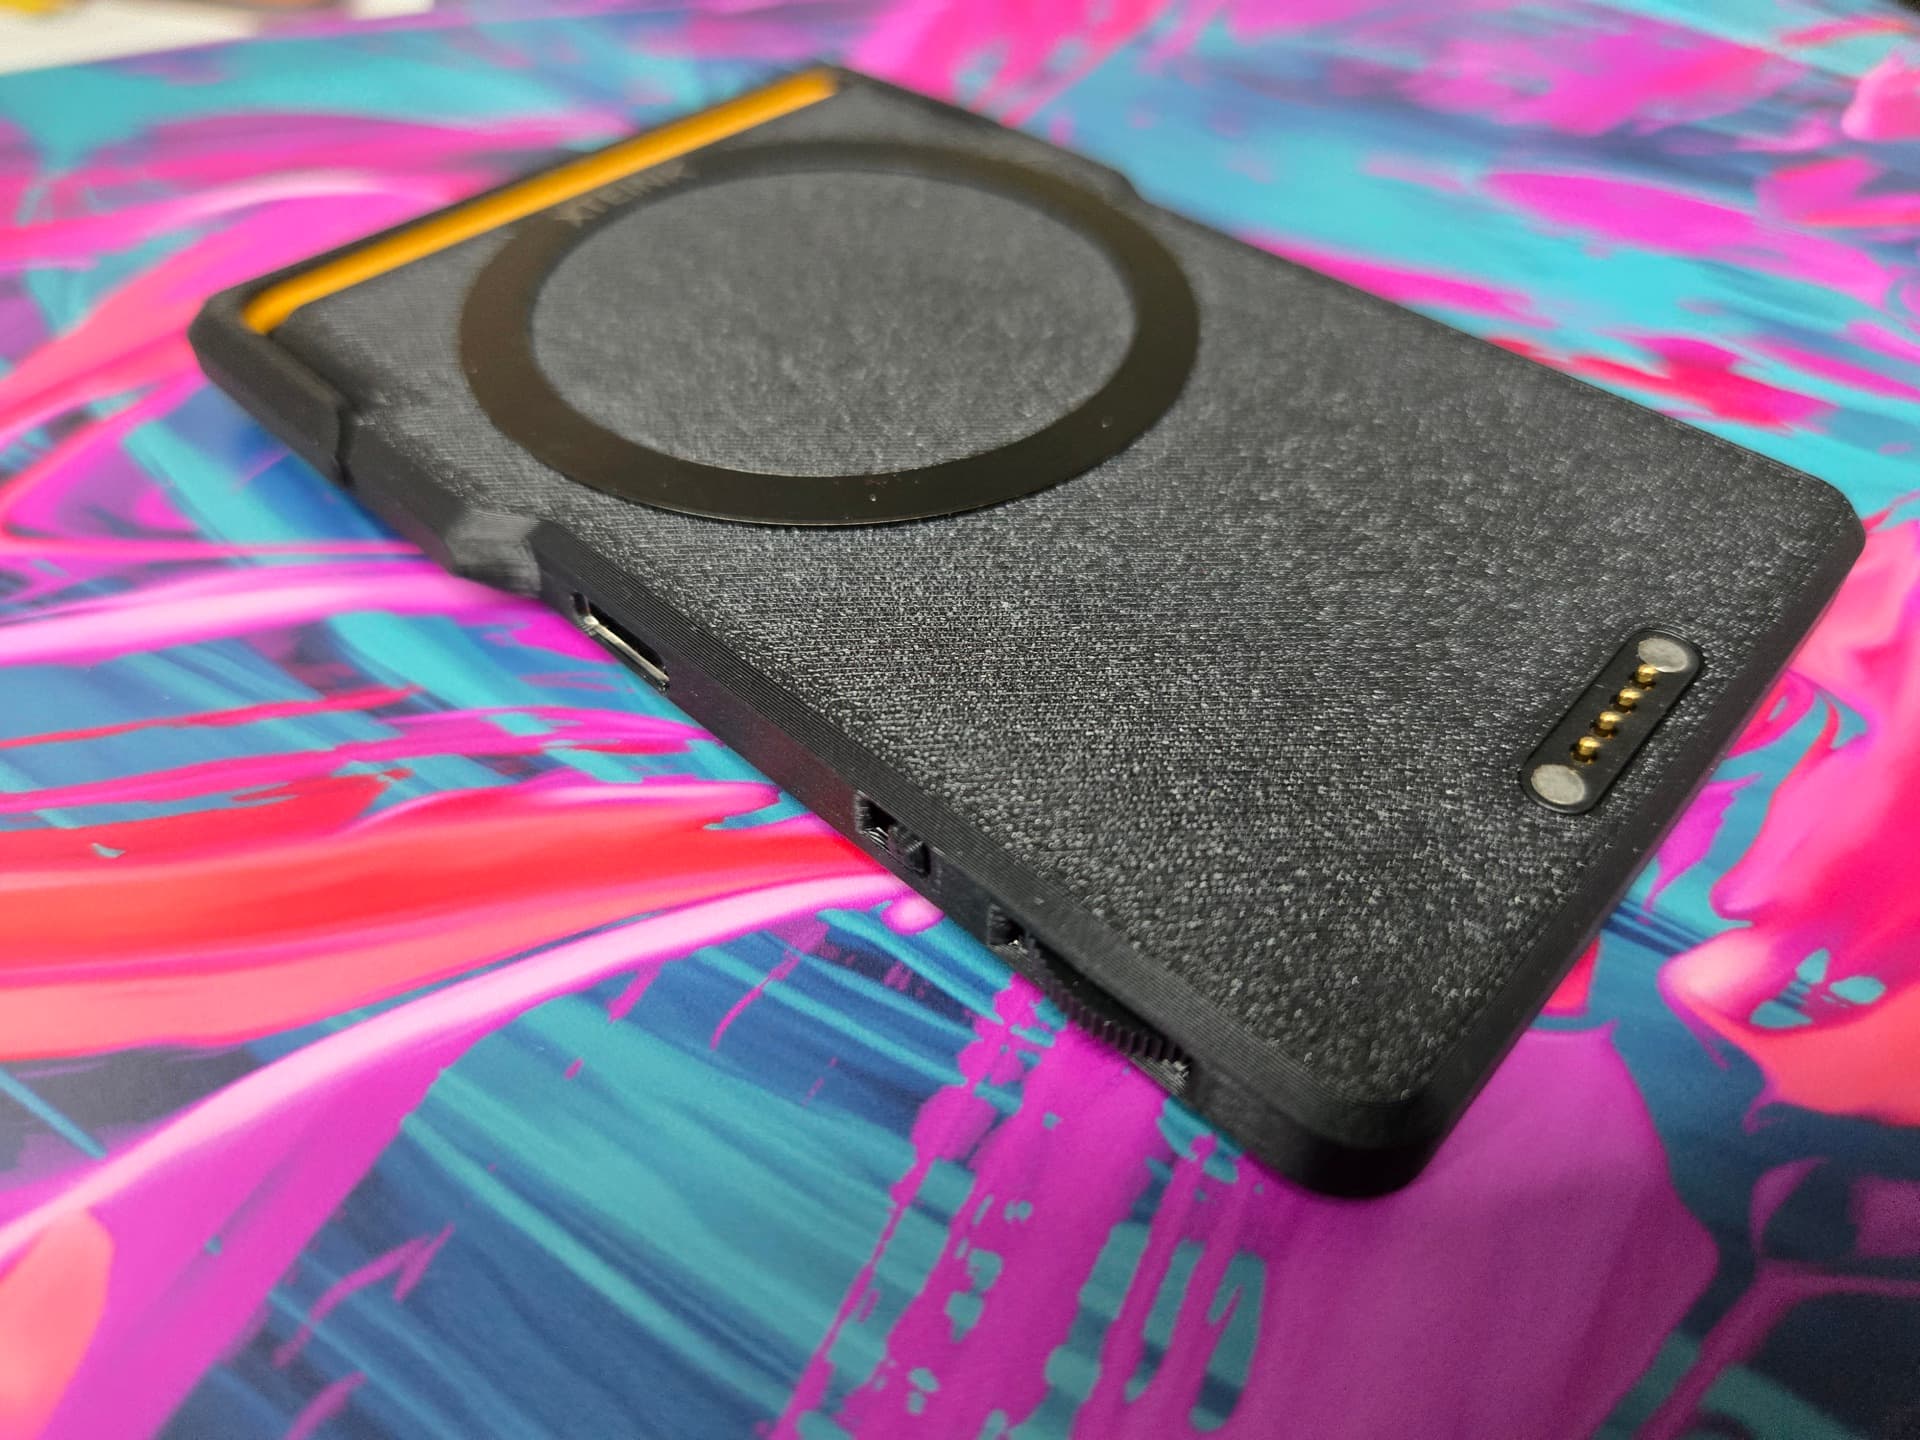
One for the light, one for the charge.
The top switch runs the light bar. The left-edge switch sends power out to the X3 through the pogo pins. The two circuits are isolated, so reading all night never touches the charge you were saving for your reader, and neither switch does anything until you flip it.
Red, then blue.
This is the LightCharge’s own battery filling over USB-C, not the X3’s. One LED, two states, no app. Glance at it from across the room and you know whether to unplug.
It lands where it should.
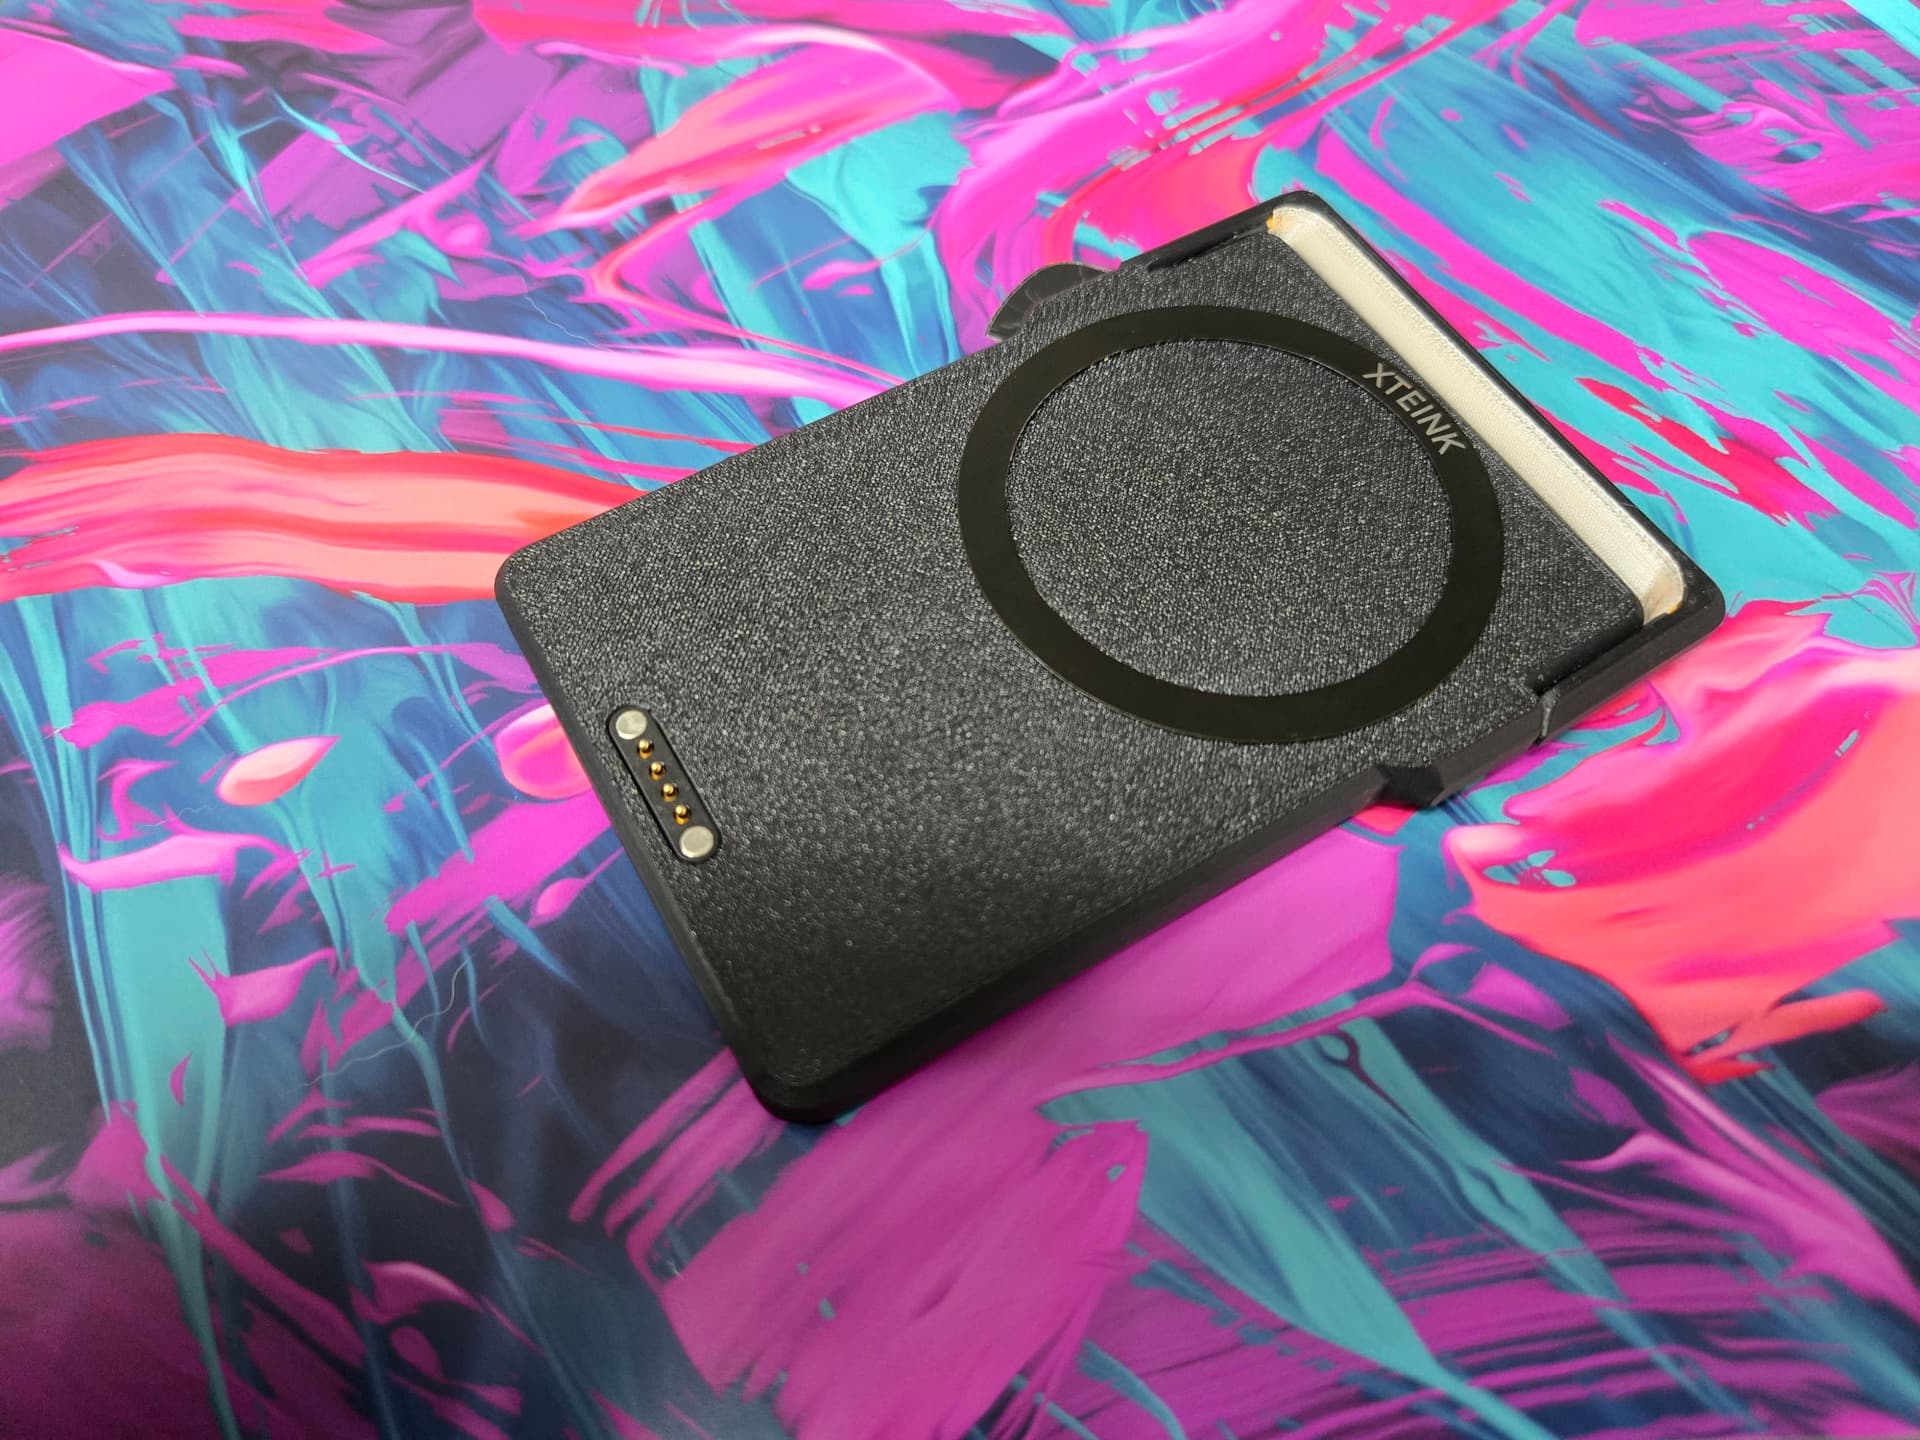
A magnetic ring pulls the X3 into position and four spring pins make the connection. No cable between the two, no fiddling in the dark.
Solder it in the jig, not in the case.
Every kit includes a simple 3D-printed jig with a pocket for each part. Lay the components out, solder the whole kit with an iron nowhere near the finished shell, then lift the completed assembly straight into the case.
You get the jig in the 3MF with the file-based tiers, or as a printed part in the box with the tiers that ship printed parts. Either way it is the same jig.
- 1Lay out
Drop each component into its labelled pocket. The layout is the wiring diagram.
- 2Solder
Work in the jig. It is a sacrificial part, a slipped iron marks the jig, not your case.
- 3Transfer
Lift the finished assembly out and set it into the shell. No reflowing joints in a tight space.
Buy the files, the parts, or the finished thing.
Five ways in, depending on how much of the build you want to do yourself. Every tier can drop the charger electronics if you only want the light, and every tier that involves a soldering iron includes the soldering jig.
Shipping to United States. Postage is added at checkout, and Stripe will only accept an address inside the region you pick. Prices are set in US dollars; Stripe shows them in your own currency on the payment page.
Every shell, arm and diffuser is 3D printed. Depending on what you bought, that is a professional printing service’s machines in a factory, ours here, or yours if you bought the files. Printed parts are a little more brittle than a moulded case, vary slightly from one unit to the next in colour and finish, and can carry a small cosmetic mark: a layer line, a seam, a witness mark where a support sat. That is true of the factory-printed pro shells as well as the ones we run here, because a production printer is more consistent rather than a different process. We orient, inspect and reprint against all of it, but it is the nature of printing rather than a fault.
One thing to avoid: heat. These plastics soften well below the temperature a closed car reaches in the sun, and a softened part warps for good. Keep it off dashboards, out of parked cars, and away from radiators and sustained direct sun.
Prices and checkout are both in US dollars.
Digital Files
Print it yourself, source it yourself.
One 3MF with every part laid out and ready to print, plus a parametric STEP file per part if you want to change something, the illustrated assembly guide, and both bills of materials, Amazon and AliExpress, with every part linked.
Delivered by email as soon as payment clears. Nothing ships, and because files cannot be given back, this tier is non-refundable, buy a kit instead if you want to keep the option to change your mind.
The assembly guide is at v1 and still a work in progress, with a major update coming once the first units are built and photographed. Both the guide and the print files are revised whenever a problem turns up, and looking your order up always gives you the current release, never the one you bought on the day.
Electronics Kit + Files
We send the hard parts. You run the printer.
Every electronic component, pre-sorted and labelled. Everything you need to build the X3 LightCharge.
Includes the full digital file set, shell, light arm, and the soldering jig, so you can print in whatever colour and material you like.
The assembly guide is at v1 and still a work in progress, with a major update coming once the first units are built and photographed. Both the guide and the print files are revised whenever a problem turns up, and looking your order up always gives you the current release, never the one you bought on the day.
Pogo pins, boost stage, and the left-edge switch for charging the X3.
Electronics + Printed Parts
Everything in the box. Bring a soldering iron.
The complete electronics kit plus a printed shell set, light arm, diffuser, and soldering jig from our own machines.
Solder the kit in the jig, drop it into the case. Ready to assemble in an evening, assembly guide included.
The assembly guide is at v1 and still a work in progress, with a major update coming once the first units are built and photographed. Both the guide and the print files are revised whenever a problem turns up, and looking your order up always gives you the current release, never the one you bought on the day.
Pogo pins, boost stage, and the left-edge switch for charging the X3.
Fully Assembled · Standard Shell
Open the box. Flip the switch. Read.
Built, wired, calibrated, and burn-in tested by hand on our own printed shells. Charge it once over USB-C and it is ready.
Every unit is checked on a real X3 before it is packed.
Pogo pins, boost stage, and the left-edge switch for charging the X3.
Fully Assembled · Pro Nylon Shell
The same build, on production-printed shells.
Assembled, calibrated and burn-in tested exactly like the standard build, but on shells printed professionally in nylon with a matte texture, finished, and inspected before packing. For the one you want to keep the best look and feel.
Pogo pins, boost stage, and the left-edge switch for charging the X3.
Sold out for now. Leave your address and we’ll tell you the moment it’s back.
The battery, on its own.
The battery is the one part worth not guessing at: the wrong thickness will not sit in the bay, and a pouch with no protection circuit has no business in a device you leave charging. So we stock the one the shell is designed around, tested and with leads already tinned.
LiPo Battery · 1600mAh
3.7V ~1600mAh. A spare, or a rebuild.
The same battery that ships in the kit. Drops straight into the bay, cut the connector off and solder the leads in.
Batteries on their own ship inside the US only. Every kit still arrives with one.
Tell us what to build after this one.
We have some things behind the X3 on the bench. None of them are finished, none are for sale, and which one gets designed first depends on how many of you put a hand up here.
The light, for the X4.
The X4 has no pogo pins, so there is no charger, this is the light on its own. Arm, diffuser and dial, a battery, its own USB-C, and a new shell designed to fit the X4.
Comes off the price when it ships. Refundable in full, whenever you ask.
No card, no charge. One email when there is something to look at.
The charger, for the X3.
The dock, the battery and the pogo pins in similar magnetic shell. No arm, no diffuser, no dial, a magnetic battery that tops up the reader you already own and then gets out of the way.
Comes off the price when it ships. Refundable in full, whenever you ask.
No card, no charge. One email when there is something to look at.
Something for the Playdate.
Same problem, different machine: a battery that fits it, a dock that holds it, and possibly a light. Nothing is designed yet. This list is how we work out whether it is worth designing.
No card, no charge. Purely a headcount.
None of these is a product yet, and a reservation is not a pre-order, it holds your place and nothing more. Ask for it back at any time, for any reason, and you get all of it.
The whole sheet.
- Compatibility
- XTEINK X3
- Light source
- Diffused LED filament · 2700K warm white
- Brightness
- 15–85 mA on a 3V rail, continuous trim
- Battery
- LiPo Battery · 3.7V ~1600mAh
- Input
- USB-C
- Output to X3
- 4-pin pogo connector, magnetically aligned
- Controls
- Top: light bar · Left: charge output to X3
- Indicator
- Internal battery over USB-C · red charging, blue charged
- Retention
- Magnetic alignment ring
- Shell
- 3D printed, textured matte · black or white
- Fasteners
- Brass heat-set inserts, M2 machine screws
- Assembly
- Printed soldering jig included, solder outside the case
- Files
- 3MF · STEP, shell, arm, and jig
- Bill of materials
- Amazon and AliExpress sourcing lists
What we are designing next.
Same electronics, no light arm, same pogo-pin dock magnetic shell body.
Same electronics, new shell geometry for the X4 body.
Such a perfect device deserves good light too. No promises yet.
One board instead of multiple modules. Simpler, cleaner, but further out.